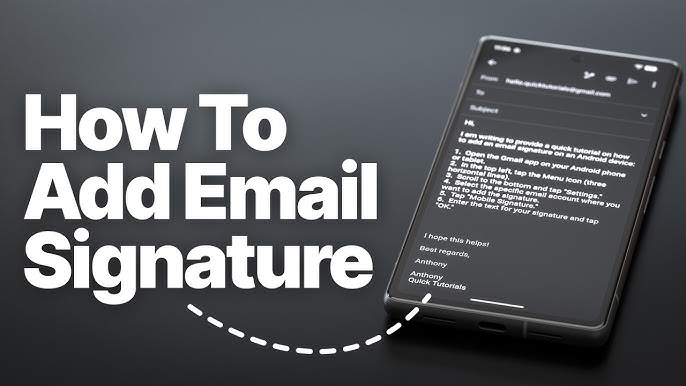
How to Set Up an Email Signature on Android
An email signature is a block of text that is automatically added to the end of your outgoing emails. It can include your name, job title, company name, phone number, website address, or any other information you want recipients to see.
Setting up an email signature on Android helps create a more professional appearance and saves time by eliminating the need to manually type your contact details in every message.
Before You Begin
Make sure:
- Your cPanel email account is already configured on your Android device.
- You can access your email app, such as Gmail.
- You know the information you want to include in your signature.
Tip: Keep your signature concise and professional. Include only the information recipients need to contact you.
Step 1: Open Your Email App
Launch the Gmail app or the email application where your cPanel email account is configured.
Wait for your inbox to load.
Step 2: Open Email Settings
Tap the Menu icon, usually located in the top-left corner of the screen.
Scroll down and select Settings.
Step 3: Select Your Email Account
If you have multiple email accounts configured on your device, choose the account for which you want to create or edit a signature.
Each account can have its own unique signature.
Step 4: Open the Signature Settings
Locate and tap Mobile Signature, Signature, or a similarly named option depending on your email app and Android version.
This will open the signature editor.
Step 5: Create Your Signature
Enter the text you want to appear at the bottom of your outgoing emails.
A basic signature might include:
- Your name
- Your job title
- Your company name
- Your phone number
- Your website address
For example:
John Smith
Sales Manager
Example Company
www.example.com
Once you’ve finished creating your signature, tap OK, Save, or Done.
Congratulations! Your email signature is now configured.
How Email Signatures Work
After setup, your signature will automatically appear:
- When composing a new email.
- When replying to emails.
- When forwarding messages.
You won’t need to manually add it each time.
Tips for Creating a Professional Signature
Consider including:
- Full name
- Position or role
- Business name
- Website URL
- Contact number
Avoid:
- Excessive quotes
- Large blocks of text
- Too many links
- Unnecessary images
A clean and simple signature is often the most effective.
Common Issues
Signature Is Not Appearing
If your signature doesn’t show up:
- Verify that signatures are enabled in your email settings.
- Save the signature again.
- Restart the email application.
Wrong Signature Is Displayed
If you manage multiple accounts:
- Confirm you’re editing the correct email account.
- Check the signature settings for each account separately.
Changes Are Not Saving
If updates aren’t retained:
- Ensure you tap Save or OK after editing.
- Update your email application if necessary.
- Restart your Android device and try again.
Conclusion
Adding an email signature on Android helps make your emails more professional while saving time on repetitive typing. Once configured, your signature will automatically be included in outgoing messages, ensuring recipients always have your contact information.
Tip: Review your signature periodically to ensure your contact details, website address, and professional information remain up to date.